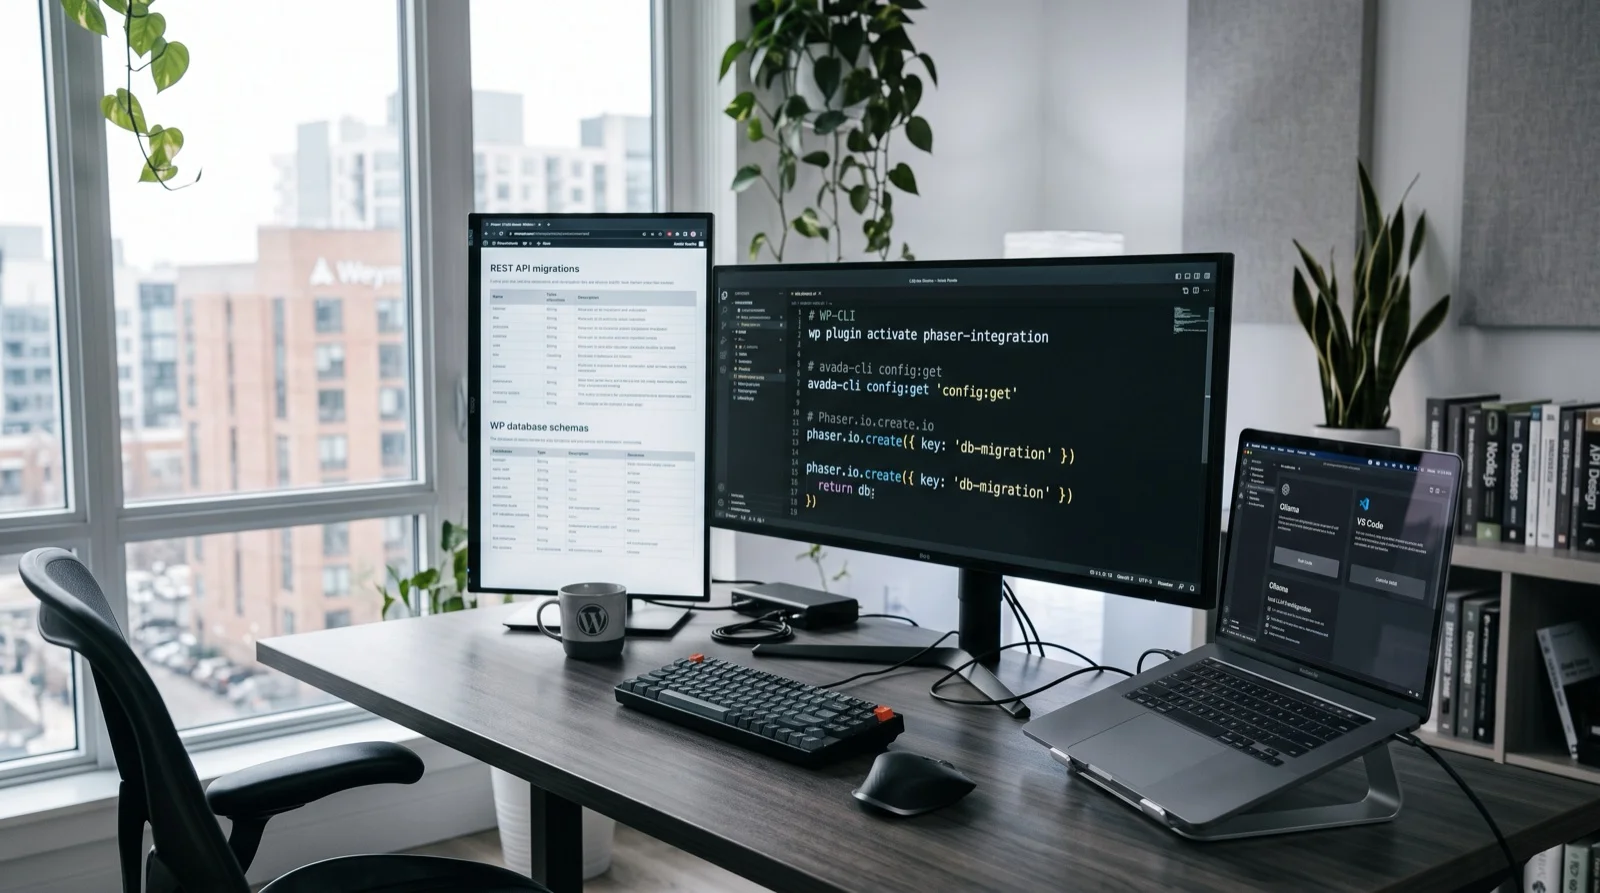

Setting Up Local LLMs with Ollama on a MacBook
Note: As someone new to running local LLMs, I spent some time experimenting with different tools and settings to see what worked best on my MacBook. I wanted to share my findings here to help other developers get up and running quickly.
Running Large Language Models (LLMs) locally has become incredibly viable on modern Apple Silicon MacBooks (M1, M2, and M3 chips). With unified memory architecture, macOS handles model weights exceptionally well.
In this guide, we will walk through setting up Ollama, downloading models, and optimizing performance for local AI development.
1. Why Ollama?
Ollama is a lightweight, open-source framework designed for running LLMs locally. It packages model weights, configurations, and dependencies into a single, clean bundle (a "Modelfile") and exposes a simple REST API and CLI.
2. Installation on macOS
Installing Ollama on a MacBook is straightforward:
- Download the macOS zip file from the Ollama website.
- Unzip and drag the Ollama application to your
Applicationsfolder. - Open Ollama. It will install the CLI dependencies automatically and run a background service (indicated by the llama icon in your menu bar).
Alternatively, you can install it via Homebrew:
brew install ollama3. Running Your First Model
Once installed, you can launch a model directly from your terminal. Open your terminal app and execute:
ollama run llama3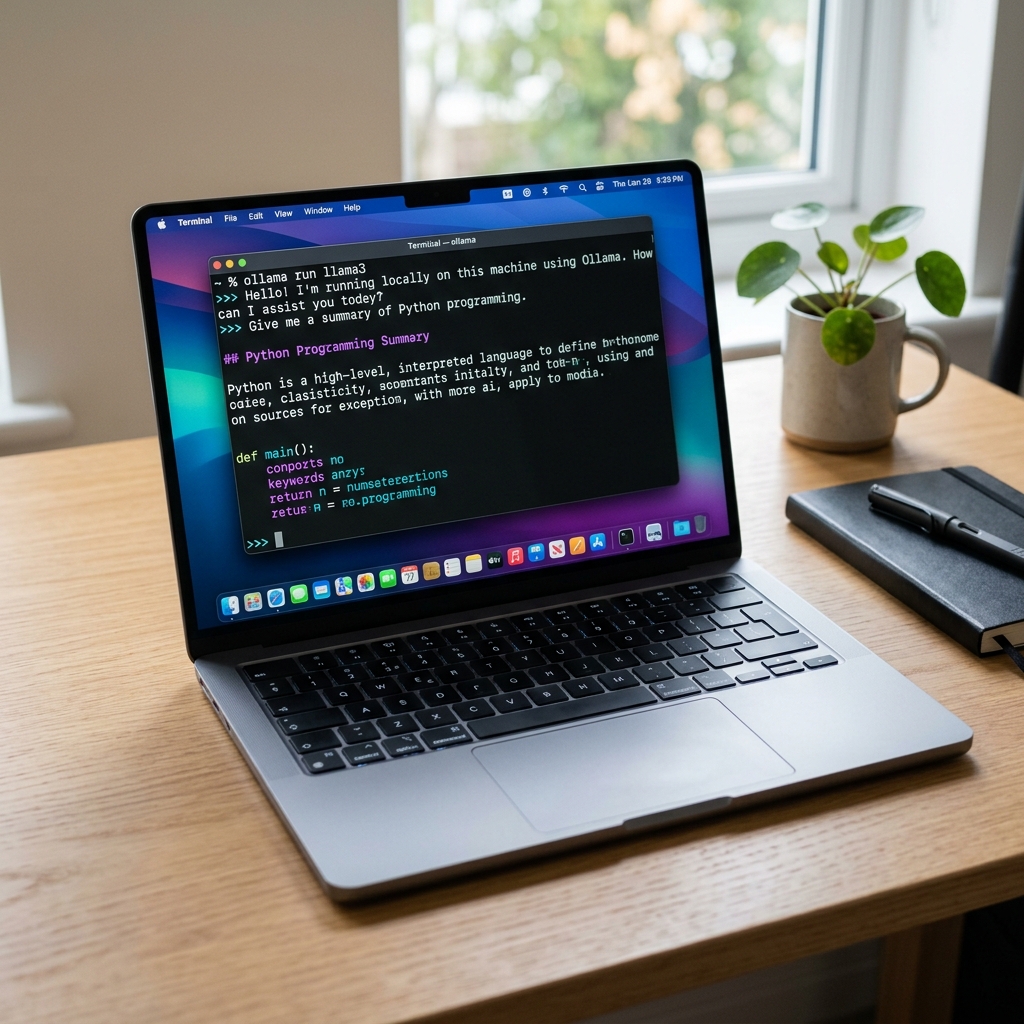
This will automatically download the 8-billion parameter Llama 3 model (approx 4.7 GB) and open an interactive chat session.
Other Recommended Models:
- Mistral (7B parameters): Great general-purpose model.
ollama run mistral - Phi-3 (3.8B parameters): Lightweight, fast, and highly capable for its size.
ollama run phi3 - Codegemma (7B parameters): Tailored for code completion and code assistant setups.
ollama run codegemma
4. Bypassing CORS / Hosting Local API
By default, the Ollama API runs locally on http://127.0.0.1:11434. If you are developing web applications (like our REST Tester tool) and want to query Ollama directly from the browser, you may need to configure Ollama to allow CORS origins.
You can set environment variables in macOS by running the following command in terminal before launching Ollama:
launchctl setenv OLLAMA_ORIGINS "*"5. Setting Up VS Code with Ollama
For daily coding, I use VS Code and integrate Ollama directly into my editor workflow. This provides local autocomplete and inline chat assistant capabilities without sending code to external servers.
Here is the step-by-step setup using the Continue extension:
1. Install Continue
Open VS Code, navigate to the Extensions marketplace (Cmd+Shift+X), search for Continue, and install it.
2. Configure Continue to Use Ollama
Once installed, Continue adds a sidebar panel to VS Code.
- Click the gear icon at the bottom of the Continue sidebar to open its configuration file (
config.json). - Replace or merge your
modelsandtabAutocompleteModelsettings to target your local Ollama instance:
{ "models": [ { "title": "Llama 3 (8B)", "provider": "ollama", "model": "llama3" } ], "tabAutocompleteModel": { "title": "Llama 3 (8B)", "provider": "ollama", "model": "llama3" } }If you prefer a smaller, faster model specifically optimized for code autocomplete, you can download qwen2.5-coder:1.5b or deepseek-coder:1.3b via Ollama and configure it:
ollama run qwen2.5-coder:1.5bThen update your config.json inside VS Code:
"tabAutocompleteModel": { "title": "Qwen 1.5B Coder", "provider": "ollama", "model": "qwen2.5-coder:1.5b" }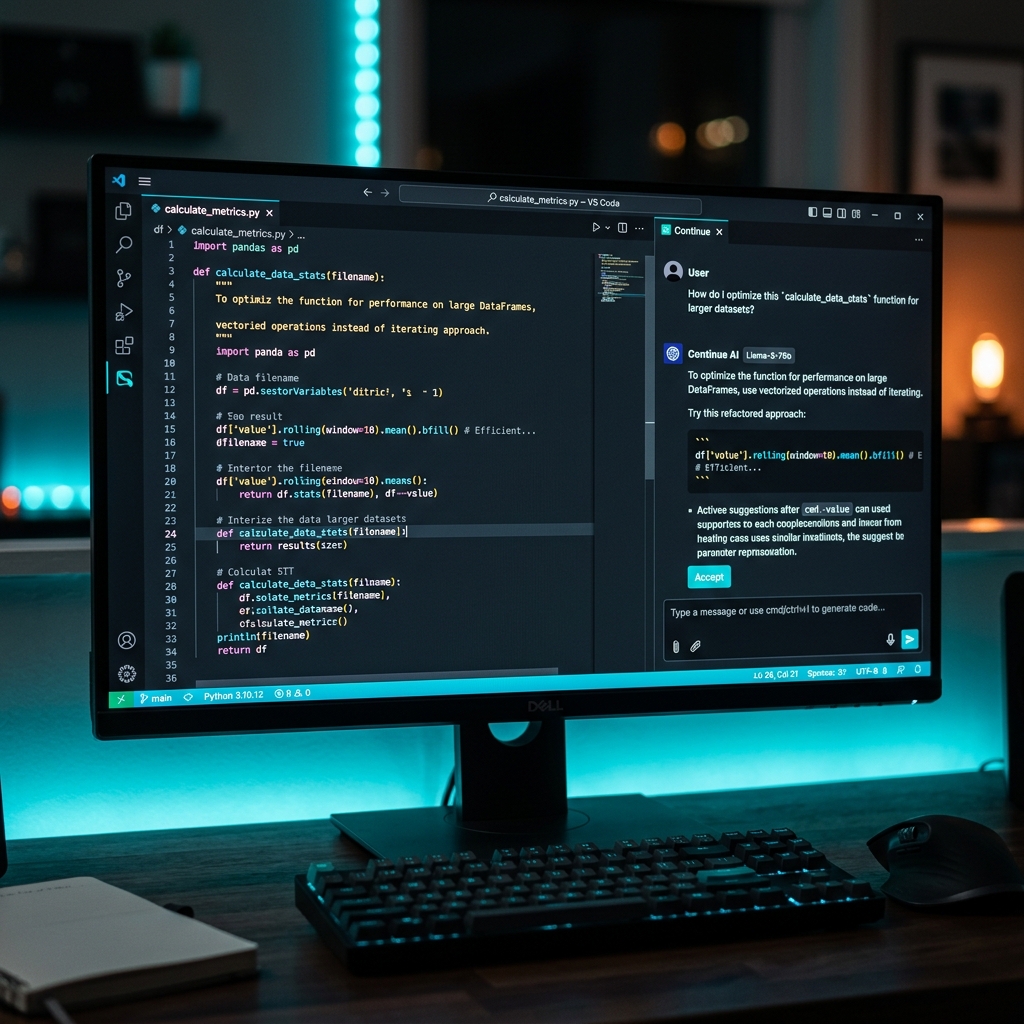
3. Usage
- Press
Cmd+Iin any code file to open the inline prompt. - Highlight any code block and press
Cmd+Lto add it directly to the Continue chat panel for review, refactoring, or bug-fixing suggestions.